Replacing A Fluorescent Light Fixture Video
How to Test the Ballasts in Fluorescent Light Fixtures. Fluorescent light ballasts control the voltage delivered to the fluorescent tubes, allowing them to start and to operate at rated output. When the fixture is switched on, the ballasts heat the electrodes or generates a high voltage to start the electric arc through the tubes. Download 2Go Version 4 Jar Mixer. As the electrodes heat up, the ballasts control the voltage to maintain the operating point that delivers the longest possible fluorescent tube life.
Watch video of this step. Replacing a room’s chandelier or ceiling fixture with a ceiling fan that includes its own light fixture is an easy DIY project for anyone. In order to stop the hum of a fluorescent light, you can replace the old electromagnetic ballast with a new.
Step-by-step instructions for replacing a fluorescent light fixture from HGTV.com. Installing a fluorescent light is a wise idea, as it's an energy-efficient option. Learn how to install a fluorescent light fixture. Changing a light fixture is an easy way to add some design flair to a room. All it takes is the right tools and some basic knowledge of hooking up electric.

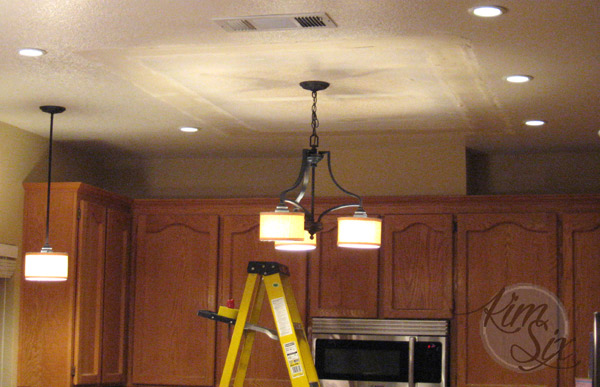
Formed shapes to fit any fluorescent light fixture. How to remove and replace a large fluorescent light box from your kitchen and update it with light and bright lighting options.
If the ballasts are not operating properly, the fluorescent lights may not start, may flicker or may burn out prematurely. Replacing defective ballasts lets you prolong the life of the fluorescent lights. Visual Inspection. Step 1. Make sure the ballast cases and the light fixtures are grounded.
Verify that there are grounding wires going from the ballast cases to the fixtures or to grounding points in the junction boxes where the power for the lights is connected. Verify the connection points visually to make sure that the wires are held in their terminals and that there are no obviously damaged components.
If the lights use starters, place a good starter in the light to be tested to make sure the problem is not with the starter. Testing the Ballasts. Step 4. Remove any lights in the light fixture to be tested. Use the voltmeter to check for voltage at the output of the ballast. If there is no voltage present, check for voltage at the incoming leads to the light. If they are supplying 1.
AC to the ballast, replace the ballast. For rapid- start lamps, use the voltmeter to find the heater filament leads with a voltage between 3 and 1. Check the voltages against the rated open circuit voltages that are printed on the ballast label. For electronic ballasts, the high- voltage circuit readings may be higher. For instant- start lights, there is no heater filament circuit.
Replace the ballast if the voltages don't correspond to the values printed on the label.